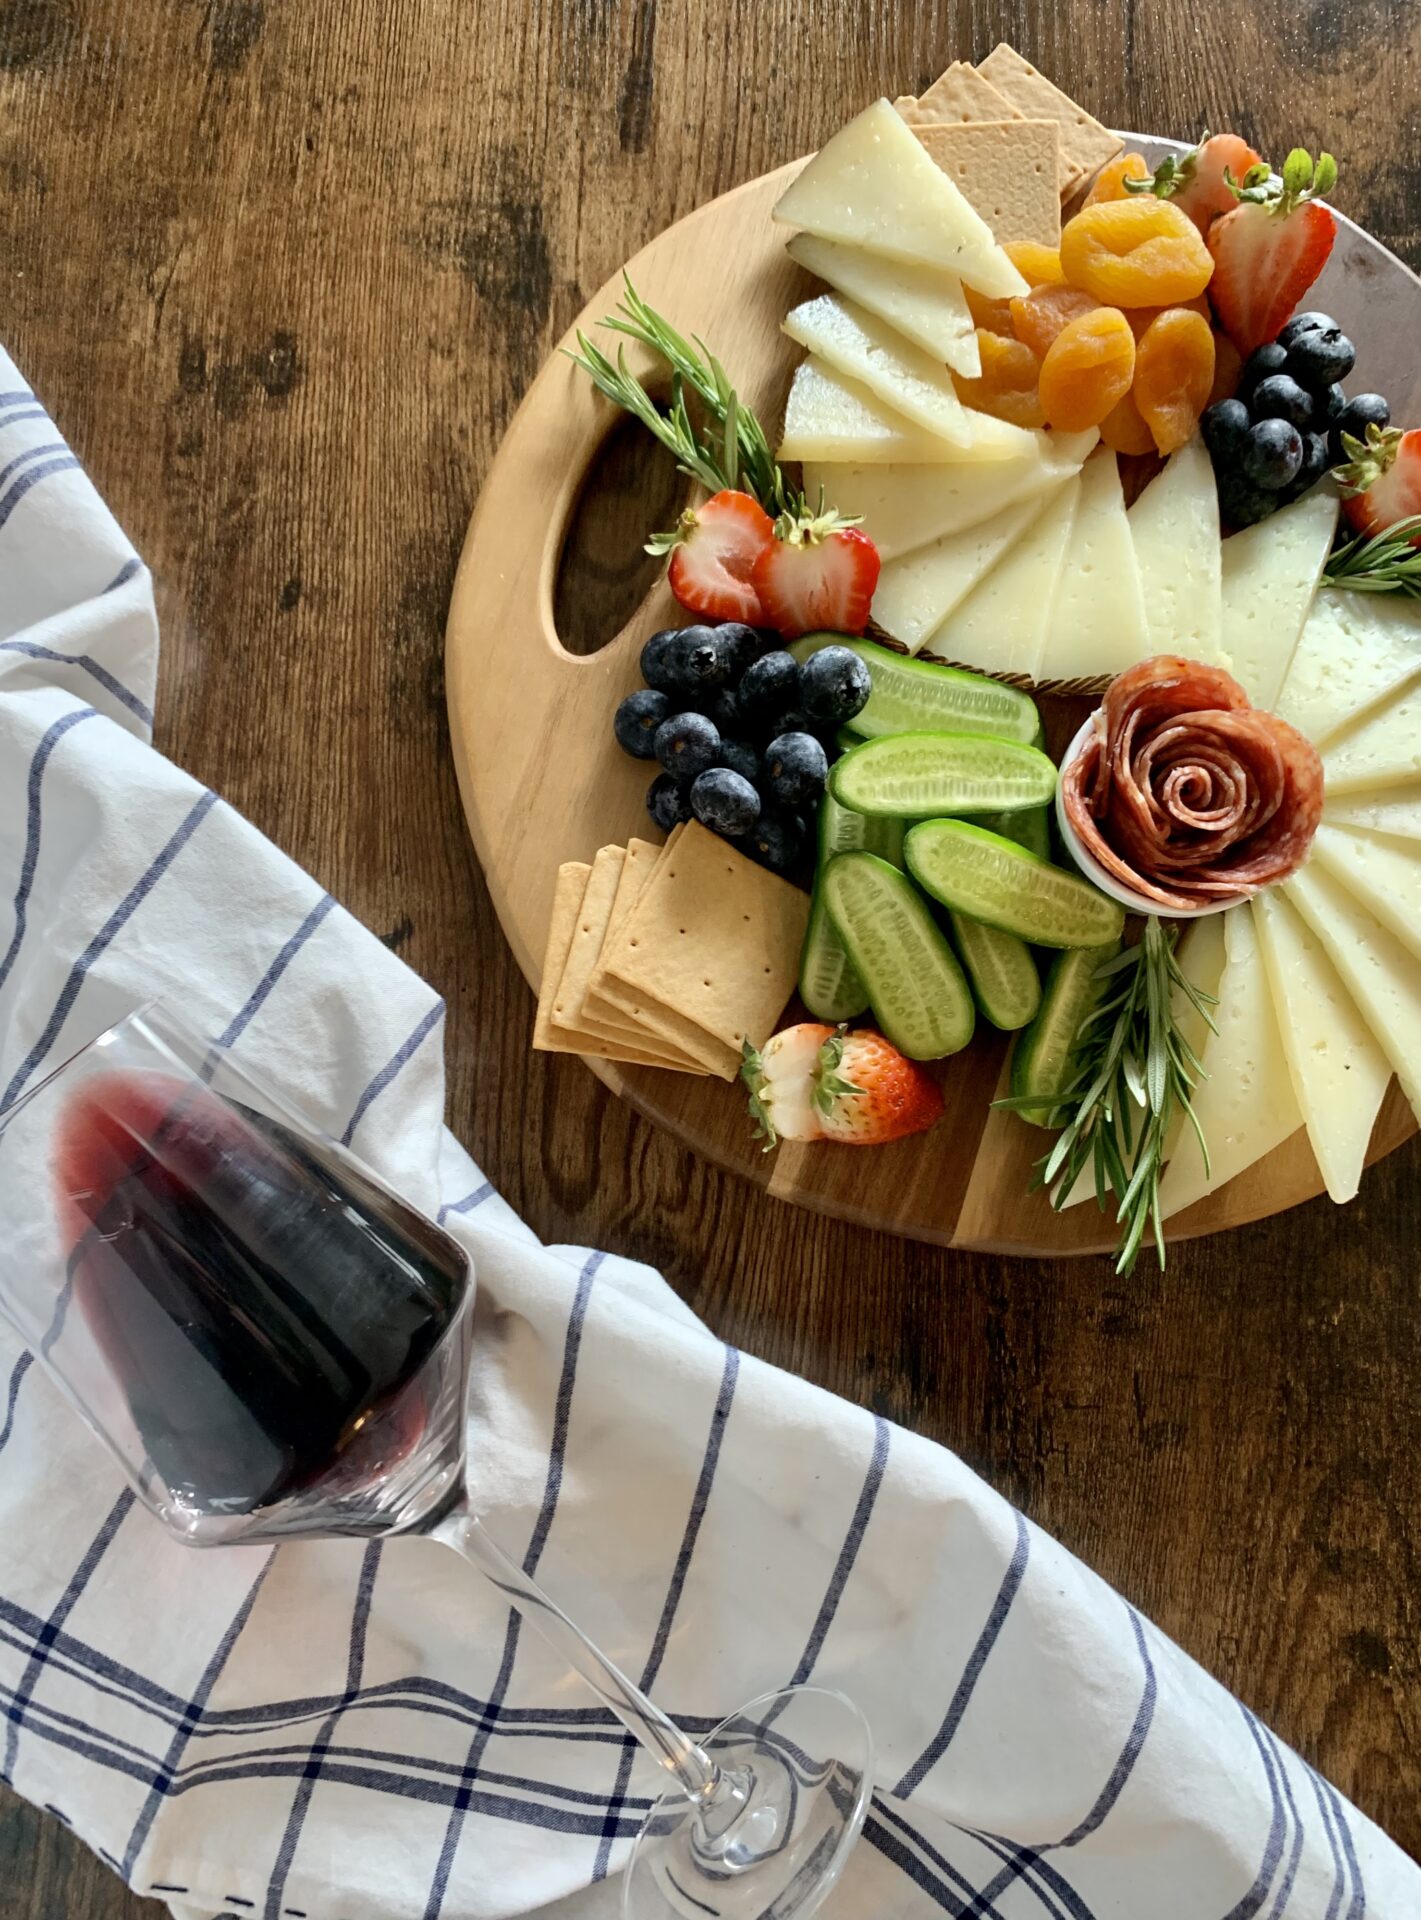
Crafting the perfect, but simple, charcuterie board can sometimes feel like a daunting task – but it doesn’t have to be! A simple charcuterie board can be the perfect way to jazz up your next girls’ night or the perfect easy “dinner” at home. And making it look beautiful is easier than it might seem! I’ve consulted cheese & charcuterie board expert, Stephanie David, to put together a guide to crafting your own.
>> This is a guest post by Stephanie David. Find her on Instagram @cheers_and_chews <<
Springing Into Charcuterie Boards 101
Spring is officially in the air; and my allergies confirmed it for me the other day. If you’re in the same camp as me, wine, cheese and entertaining is my jam, especially now that the weather is warming up! There’s not much better than having some bottles of wine opened and food ready to feast on with friends.
When it comes to deciding what to serve up, a simple charcuterie board is a perfect to-go option that is always a hit and makes for a beautiful display. They’re versatile and can take on almost any theme for the occasion. You can easily adjust the components for different preferences, scale the portions based on guest count, and price range as you’d like or take on a theme by focusing on a color palette, geographic region or season.
Perhaps one of the best parts of a simple charcuterie board spread like this – there’s no cooking required!
At times, these boards can seem intimidating to create, but they’re easier than you might think! Today I’m going to help break down the process by sharing my tips and tricks so you can knock your next simple charcuterie board out of the park.
Charcuterie Board Essentials
Tools for Your Cheese Board
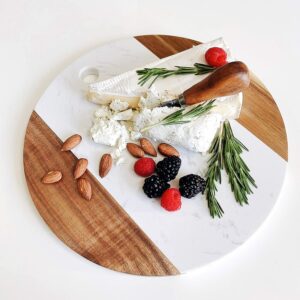
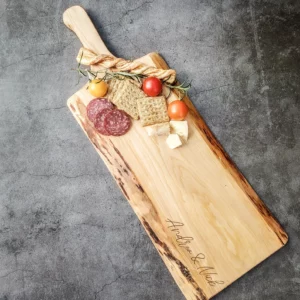
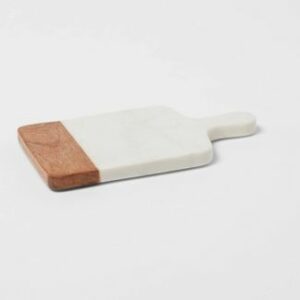
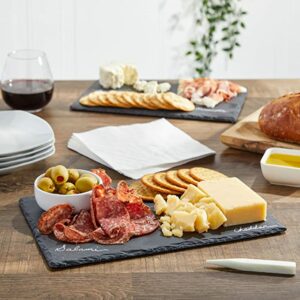
First things first, we must talk about your “vehicle” (aka board or platter) and tools for delivering the deliciousness. You can use anything ranging from a platter, wooden board, piece of slate, all the way to right on the counter to make a grazing set up. The larger the crowd you’re serving, the bigger the “vehicle” will be.
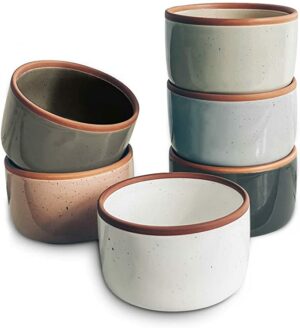
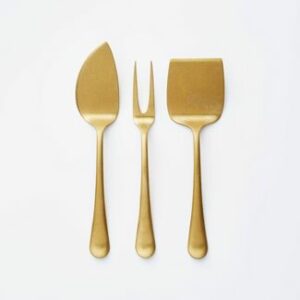
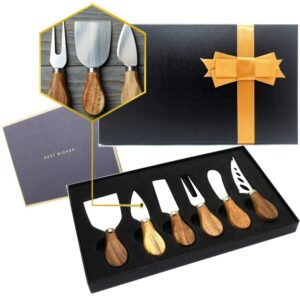
You’ll also want to have a few ramekins or small bowls on hand to fill with the liquid items like, honey, jams, chutney, etc. and some cheese knives for cutting and spreading.

Types of Cheeses and Meat for a Simple Charcuterie Board
Shopping for the cheeses is one of my favorite parts of the process. This is where you can start adding a range of flavors to your board through the different types, textures and colors of cheese.
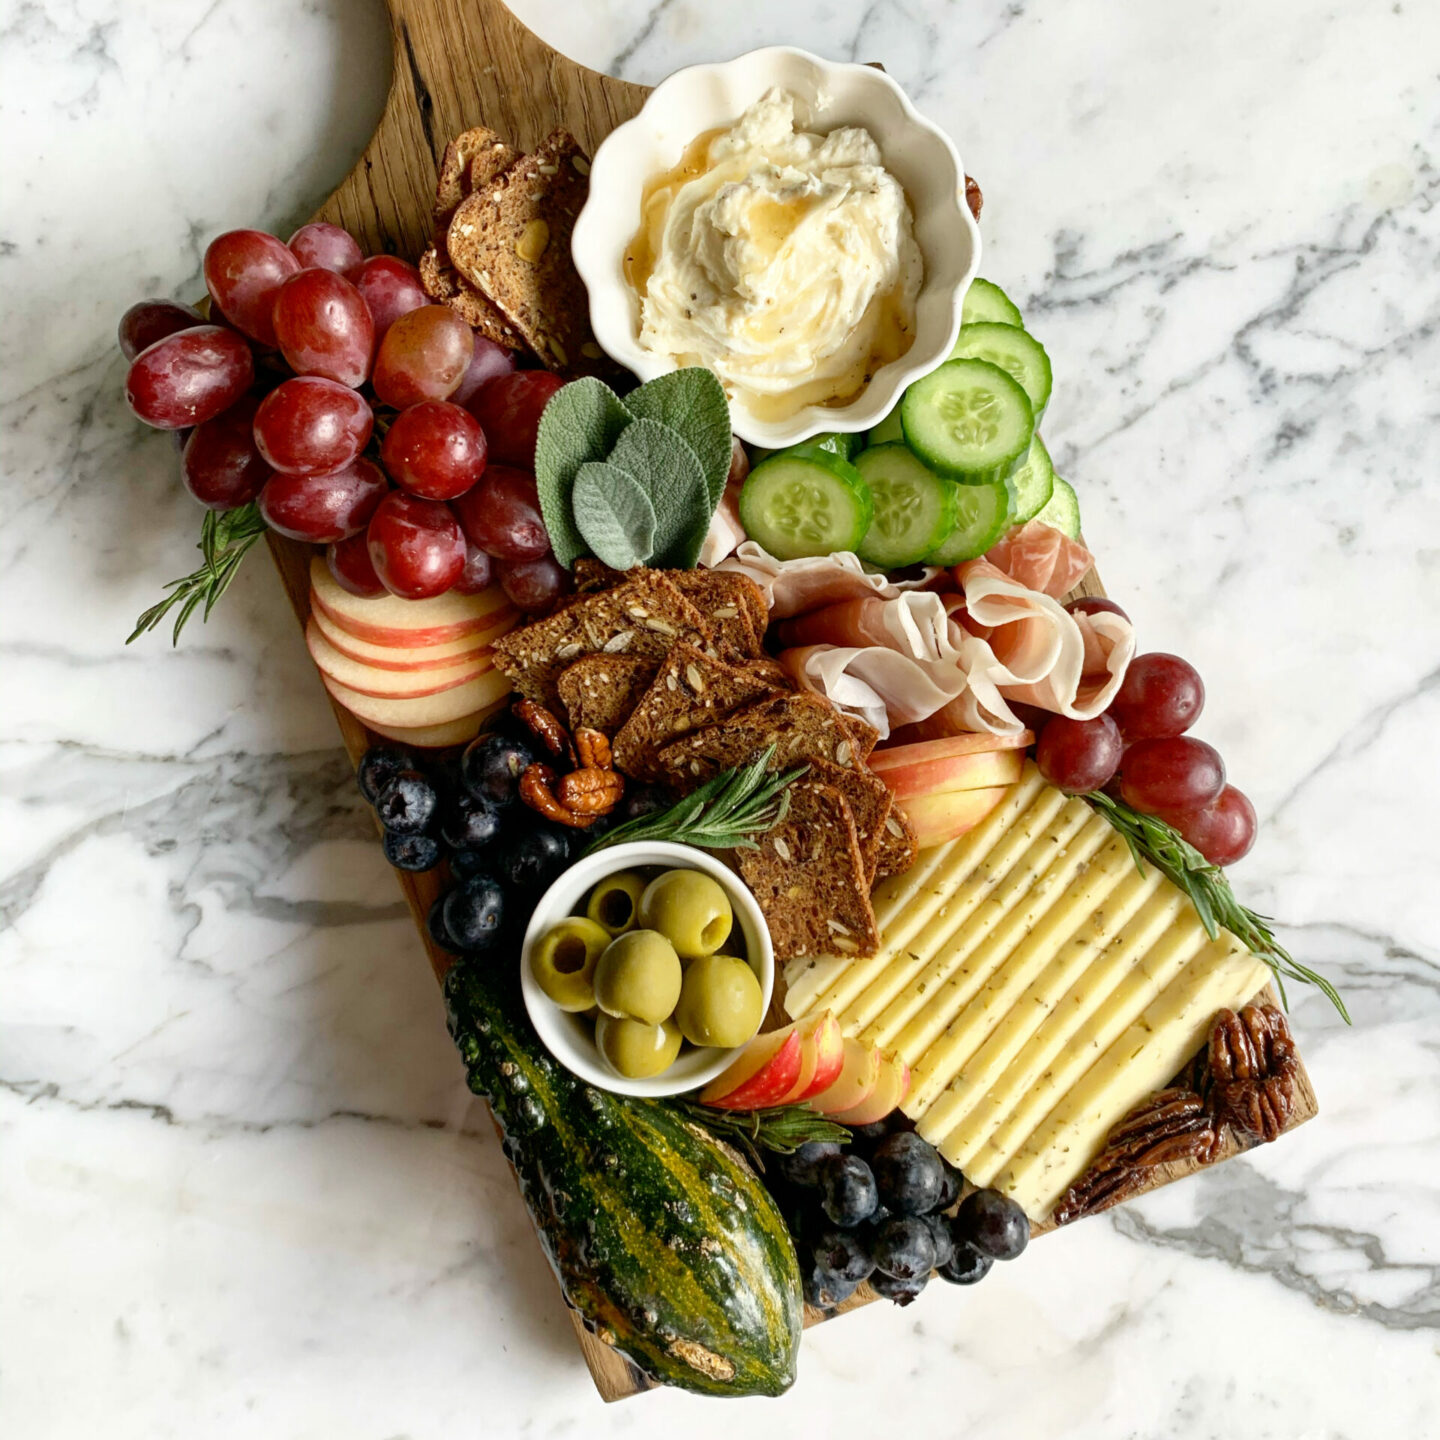
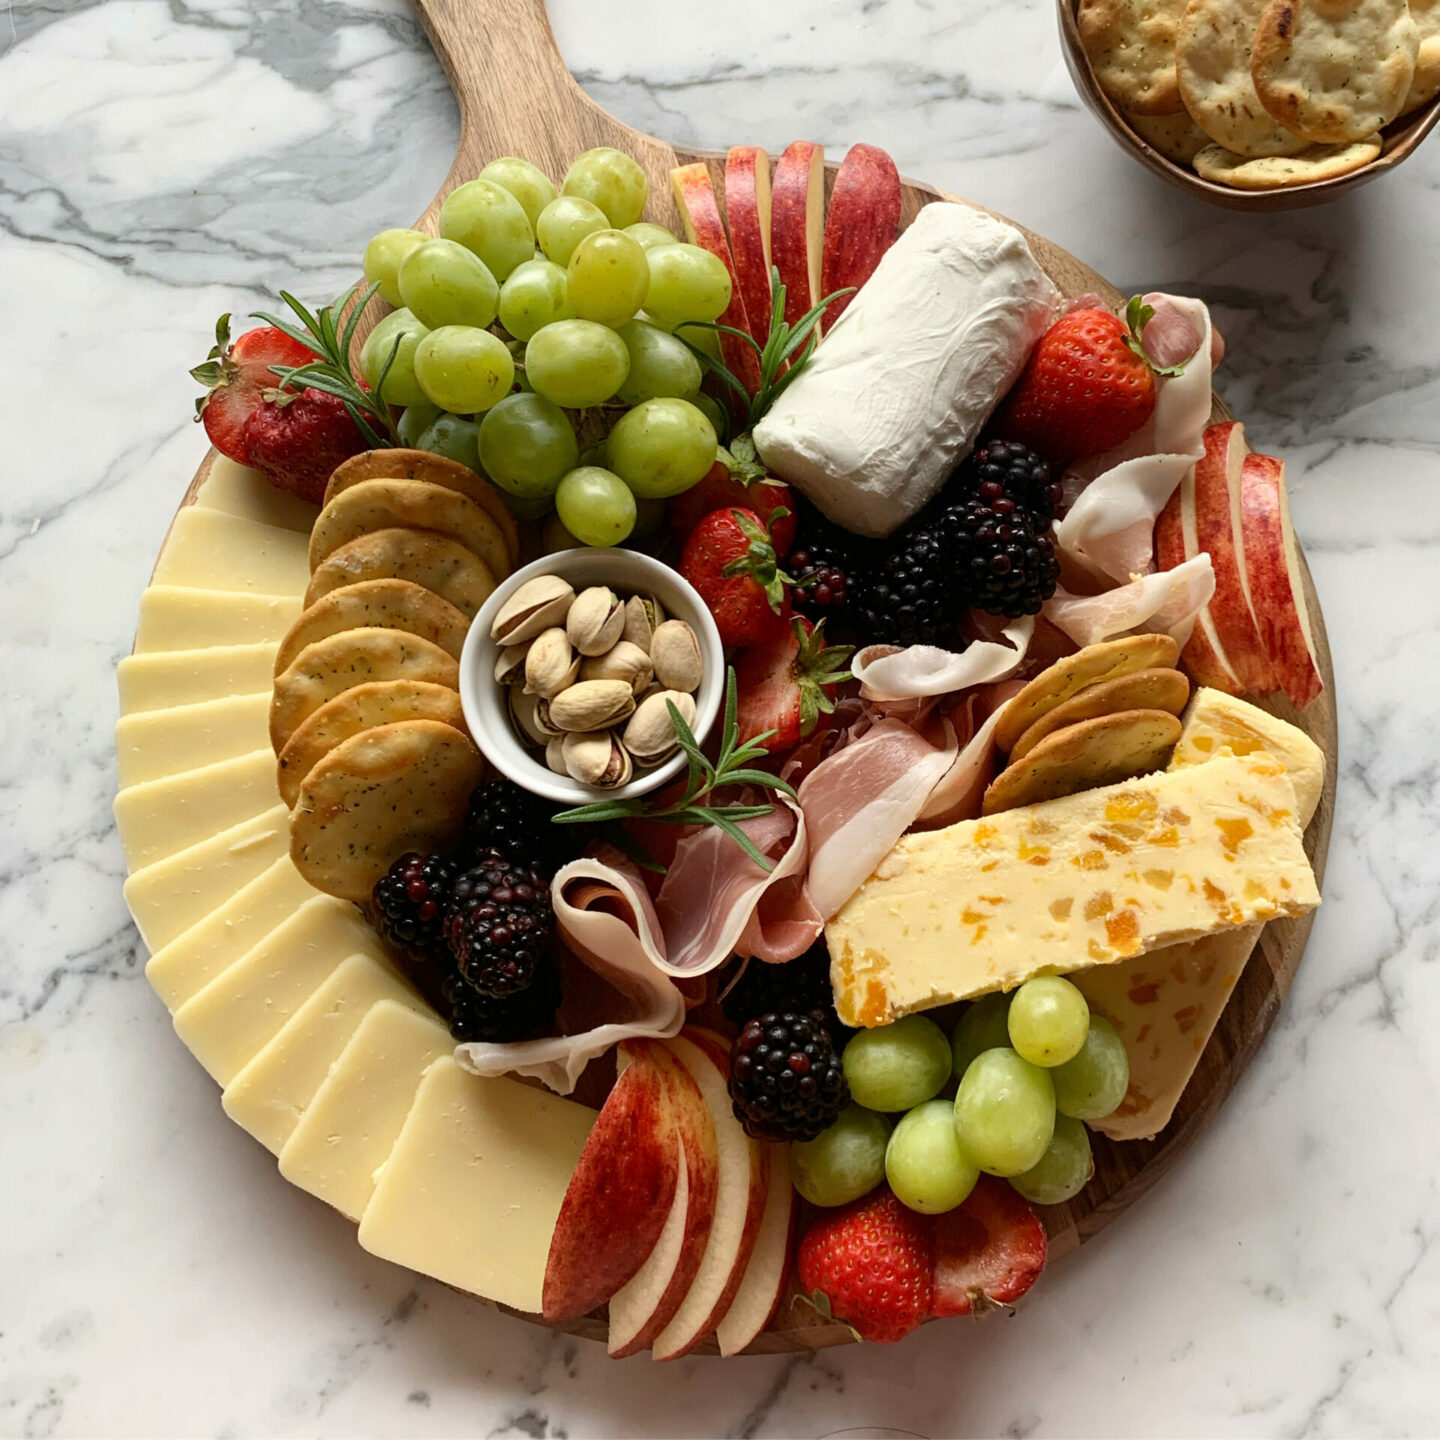
I like to mix it up and recommend having a soft cheese, semi-soft cheese and hard cheese such as chevre, brie, and cheddar and aged gouda. Cheese made with different milks, such as cow, sheep or goat, can also offer different textures and flavors. I typically will start with two crowd-pleasing cheeses and then toss in an experimental cheese.
Hot tip: Portions range based on if you’re serving your cheese board as an app or meal. For an appetizer, I would suggest 1 oz of each cheese per person, and 2 oz if it’s dinner. One ounce of cheese can roughly break out to 4 dice as a visual example.
Next, we’ll be swinging by the deli counter for the meat. “Charcuterie” is a French word that describes cured pork products such as salami and ham. Salami, prosciutto, summer sausage and even pepperoni are popular picks and help to build on a variety of flavors, spices and colors for your board.
Hot tip: I like to request the exact amount I plan to use for my meats directly from the deli counter. You get more variety in selection and can not waste any of the meat. This is a great way to save money too!
Add in Fruits, Nuts, Veggies, etc.
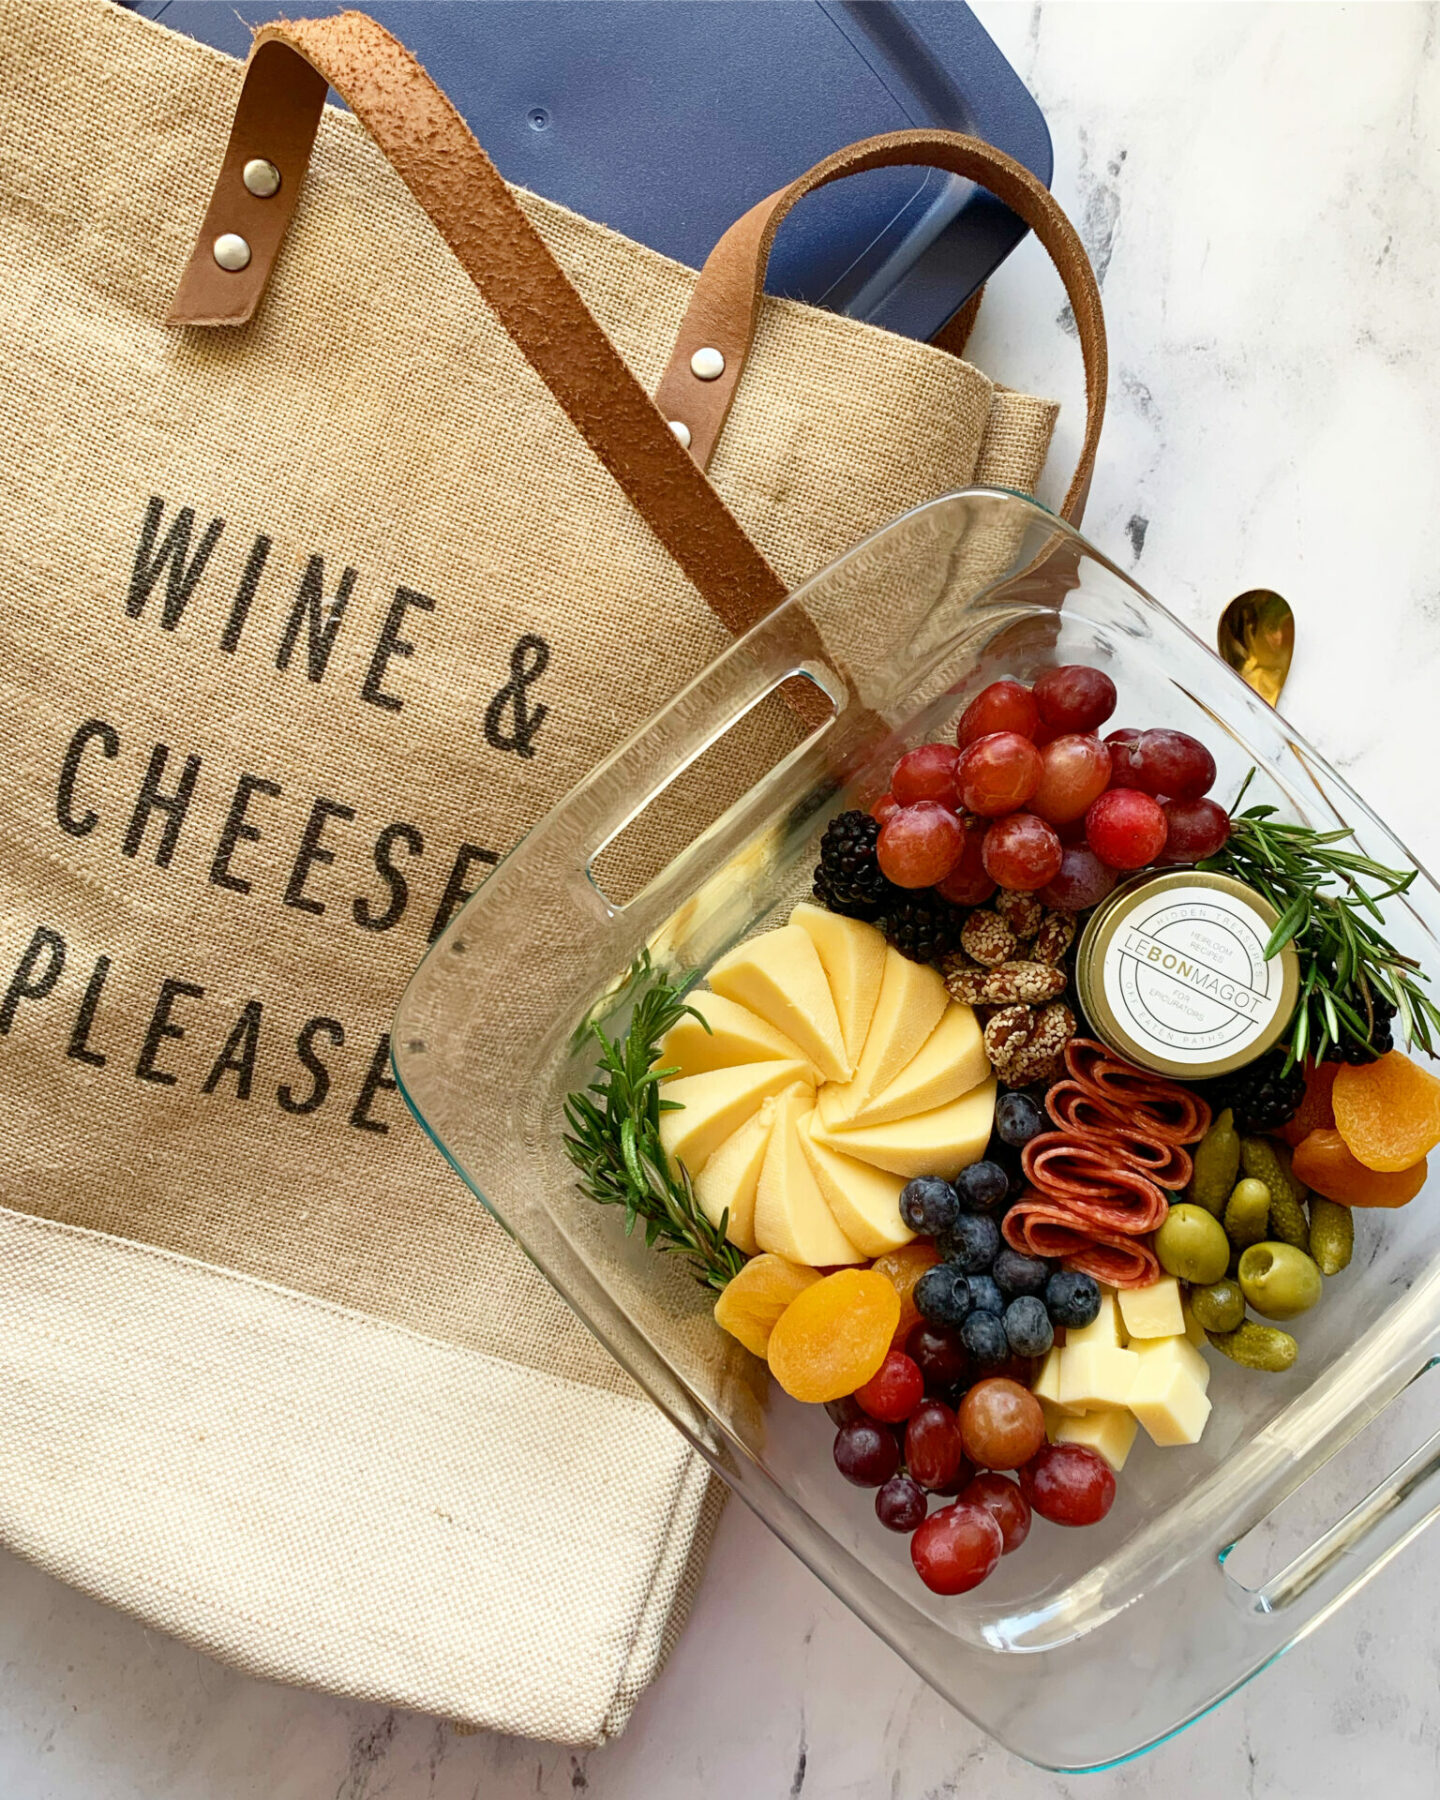
This is where so much color, flavor, texture really comes in to play and your creative juices can fly. I like to make sure to incorporate some classics like honey, strawberries, olives, jam, grapes, marcona almonds, and dried fruit.
Hot tip: I think it’s always good to pick fresh fruit that is in season and buy based on weight. This way you get exactly what you need. Also, be sure to look through your pantry prior to shopping since often you might have nuts, honey, etc. already on hand.
Carb Loading and Garnish
No board would be complete unless you topped it off with some yummy crackers and bread for your cheesy bites. I will often pick up grainy crackers or slice up a baguette to enjoy fresh or toast briefly to give it a bit of crisp.
Generally, I recommend choosing 2-3 different cracker types, one less than the number of cheeses you put on your board.
Hot tip: Always have a basket or bowl off to the side to have for extra crackers and bread. It’s also helpful in case you have someone gluten free enjoying the board and can’t eat it so you can put all the crackers in the basket.
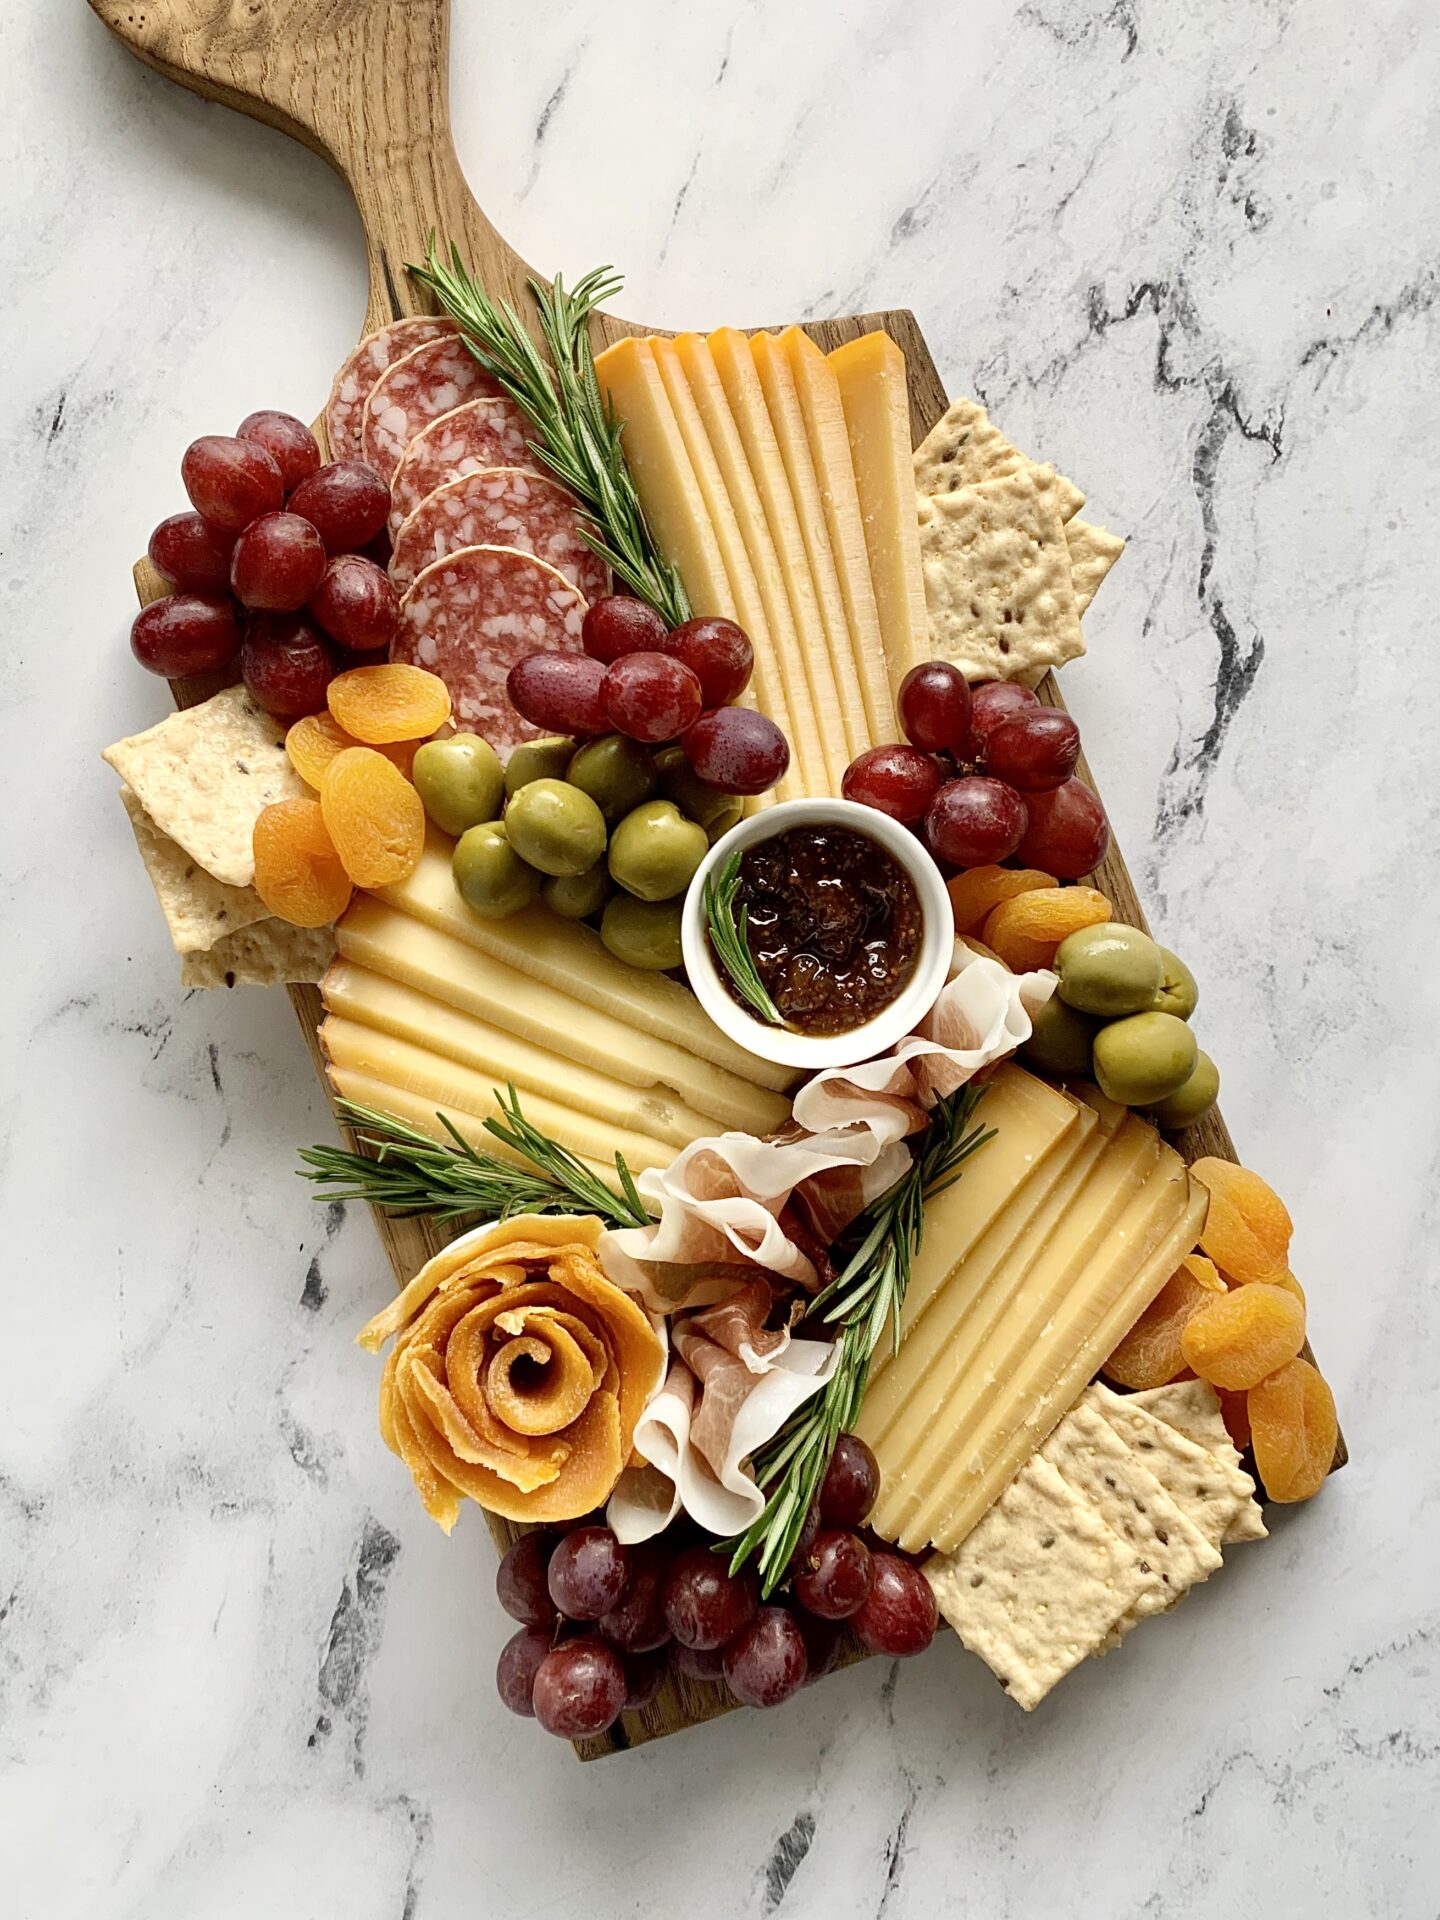
Assembling Your Simple Charcuterie Board
I always recommend placing down the cheeses (slicing the harder cheeses in advance for easy grabbing), ramekins and larger food items first. These items act as your anchors to your board. Start from the middle and work your way out while spreading items across the space.
Hot tip: Be sure to include a variety of shapes on your board to help create visual interest. Placing wedges of cheese and cubes of cheese will contrast well with each other.
Start to add in the other parts to the board with your meats and fillers, being sure to consistently spread the types of items across it for evenness of color and texture so it doesn’t feel lopsided. Once you’re about done, if you have space for crackers, add thin slices of bread (like a thin baguette) or a variety of crackers with different shapes and textures and nuts to fill the last holes.
Lastly, you’ll want to add a touch of garnish to finish off your board. I gravitate towards fresh herbs that I have growing on my patio like rosemary or thyme. These are edible and safe to be on your board.
Hot tip: It’s best to serve your charcuterie boards room temperature, so guests can fully enjoy the flavors and textures of the meats, cheeses, and fruit.
Be sure to grab the charcuterie shopping list below to get you started for some happy and simple charcuterie board building and entertaining!

Charcuterie Board Shopping List
This basic charcuterie board shopping list is the perfect place to get you started with crafting your own simple charcuterie board! Save this and use it as a jumping-off point for your own easy charcuterie board creation!
– Cheddar – 4 oz
– Aged Gouda – 4 oz
– Brie Wheel – 8 oz
– Thinly Sliced Prosciutto – 4 oz
– Thinly Sliced Salami – 6 oz
– Dried Fruit, apricots or mangos
– Grapes
– Strawberries
– Apple, sliced
– Honey – ¼ cup
– Nuts, almonds – ¼ cup
– Bread and crackers
– Fresh Herbs, thyme or rosemary (for decoration)
FAQ's
How early can you prepare a charcuterie board?
You can create the entire board up t0 24 hours before, as long as the board is wrapped and refrigerated beforehand.
How long are charcuterie boards good for?
A charcuterie board can be good for up to 5-7 days in the fridge. I would recommend just keeping it wrapped in deli paper. You could put the leftovers in containers, but I’ve found that that cheeses and meats get kind of slimy this way.
Boards to use for charcuterie?
I’ve found the best options are wood cutting boards, slate boards, serving trays, etc. You could get some at your local Target. But really, any flat surface you have will work.
More Charcuterie Posts for You!
About the Guest Author

Stephanie David
Sharing a cheese board with friends while sipping a glass of wine is the basis for Cheers & Chews run by Stephanie David.
Stephanie loves to host, create beautiful cheese boards & dishes and share it all over a bottle of wine. Oftentimes if Stephanie is not hosting or cooking in the kitchen, you can find her visiting a local winery, traveling, or working out. Cheers & Chews was born with a desire to create a space to share her cheese board-building ideas, tips, and tricks, wines she’s drinking, and pairings that are approachable for everyone!
Follow her on Instagram at @cheers_and_chews where she’s all about that wine and cheese life. 🍷